Blog test
Lorem ipsum dolor sit amet, consectetur adipiscing elit. Phasellus at porttitor leo. Phasellus vel molestie enim, in efficitur dolor. Duis consectetur magna non massa dictum
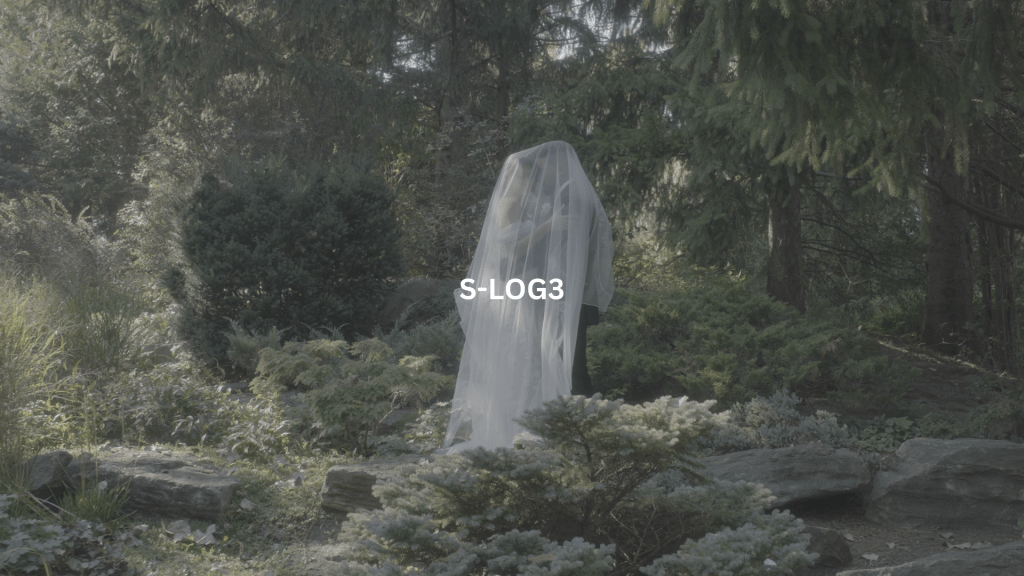
If you’ve ever shot in Sony SLOG3 and felt overwhelmed the moment you imported your footage—you’re not alone.
It looks flat. Desaturated. Washed out.
And if you’re not sure what to do next, color grading can feel like guesswork.
I’ve been there.
When I first started shooting log, I thought I was doing something wrong. I didn’t understand why my image looked so bad out of camera, and why it was so hard to “bring it back to life.”
Then I discovered the importance of applying a base Rec.709 LUT—and everything changed.
Sony SLOG3 is a log gamma profile used in cameras like the FX3, A7SIII, FX6, and others. It’s designed to capture more dynamic range by flattening the image—preserving highlight and shadow detail that traditional video profiles throw away.
This makes it ideal for color grading, but only if you know how to properly convert it.

SLOG3 isn’t designed to look good on its own—it’s meant to be interpreted.
When you apply a technical LUT that converts SLOG3 to Rec.709, you’re bringing your footage into a standard color space, making it viewable and gradable across screens and platforms.
This one step turns flat log footage into a workable image with:
It becomes a foundation, not a final look. From there, you can build creative grades without guessing.
This is the same process I teach in my full Premiere Pro course, and what I use in client work.
Make sure everything is shot in SLOG3/S-Gamut3.Cine for consistency.
Apply all your technical LUTs here, so you’re not baking them into individual clips.
In Lumetri Color → Basic Correction → Input LUT → load your Sony Rec.709 LUT.
👉 Download Free Sony SLOG3 LUTs (Rec.709) from Sony
Look for:
SLog3-S-Gamut3.Cine_To_Rec709.cubeNow your footage is in a proper state to:
If you start without converting to Rec.709, you’ll constantly be fighting the footage. You’re grading from a broken baseline.

👉 Download My Free Sony SLOG3 LUT Pack
Great SLOG3 grading isn’t about pushing the footage—it’s about control.
You want:
You get that when your base is accurate. That’s why the Rec.709 conversion is so essential—without it, your grade is built on sand.
There are a ton of videos showing how to “grade SLOG3 in 2 minutes” by just dragging sliders and adding teal-orange.
It works for some quick content.
But if you want repeatable, professional results, you need structure. That starts with proper conversion.
This is exactly what I teach inside my Premiere Pro Beginner Course, where we work on a real commercial project using SLOG3 footage—graded step by step.
If you’re shooting SLOG3, don’t treat it like standard video.
And don’t skip the normalization step.
Apply the Rec.709 LUT first. Then grade.
That one move took my work from inconsistent to client-ready.
And it will do the same for you.